

Is your Amazon business not moving inventory the way you hoped it would be? You may not be optimizing your reach to your target audience.
Luckily, there is a tool called the Helium 10 Magnet. It helps you come up with keywords that get your products in front of buyers.
Here, we’ll cover exactly how to use the Helium 10 Magnet Tool and how it can help your Amazon business take off.
How Do I Use the Helium 10 Magnet Tool?

The Magnet tool is located within the Helium 10 software. To access it, you have to log-in to your Helium 10 account. From there, you can navigate to the Magnet tool. The icon for this tool depicts two red and blue magnets attracted to each other. You can access this icon in one of two places: in the Central Tools area or on the left side of the menu.
Once you have clicked to access the Magnet tool, you can begin to explore all that it has to offer. There is no correct way to do so, as every business will benefit from different features. Feel free to explore and experiment to find what works for your shop.
If you need somewhere to start, you can follow these steps to get the most optimal use from the Helium 10 Magnet tool:
Step 1 – Begin a Search
Find the field that says, “Enter 1 keyword.” Type your keyword(s) into this space. You can search for one word, several words, or whole phrases. The Magnet tool lets you look up to 200 separate words at a time. If you search for multiple words or phrases, be sure to separate each one using commas.
The number of keywords you type in will depend on your business’s specific goals. Are you trying to sell more of one particular product or your entire inventory?
Keyword research always requires some trial-and-error. Some business owners will benefit from performing a hyper-specific search. Others will be better off using a generic form of their product name. Don’t be afraid to experiment to find what works best for your business.
Step 2 – Select Your Country
The Magnet tool lets you search for keywords in 8 different Amazon marketplaces. With this in mind, make sure you select the correct country before beginning your research. The U.S. marketplace is always going to be the default location. You can also choose to perform research for the following marketplaces:
- India
- Great Britain
- France
- Italy
- Spain
- Canada
- Germany
One note of caution: if you’re selling in multiple marketplaces, you will want to perform separate searches. Otherwise, your results will be muddled and confusing to decipher.
Once you have chosen the right marketplace and entered your search terms, you can select the “Get Keywords” button. At this point, the Magnet tool will immediately display your initial results. As outlined in the following steps, you can make adjustments as needed.
Step 3 – Narrow Your Results
If your initial results page produced an overwhelming number of hits, you can use this next step to narrow your results. Consider adding one or several additional keywords. Click on the “Get Keywords” button again to get a more refined results page.
Even adding just one descriptor can make a huge difference and make it easier for you to sift through your results page.
Step 4 – Analyze Your Results
Once you’ve done everything you can to narrow your results, you can begin to interpret them.
Look at your results page. Just underneath the search terms, you should notice four distinct boxes. These boxes depict all of your primary data.
Here’s a description of each box to help you understand the data that they contain:
- First box: The first box provides you with the total search volume, Magnet IQ score, estimated CPR 8-Day Giveaways required, and Match types (Smart Complete, Organic, or Amazon Recommended).
- Second box: The second box offers the number of organic and exact matches. In this section, you can also view the total number of keywords that line up with your original keywords and the Amazon recommended keywords. This Amazon recommended keywords are especially relevant to your business; Amazon creates and monitors its own database of phrases so that it can signal out specific products within its search engines. The Magnet tool makes it easy to find these phrases, so you don’t have to do any tedious digging.
- Third box: The third box displays the top three sellers for the keywords you’re looking up. You can easily import these competitors to Cerebro, which is another great tool created by Helium 10. Thanks to this easy import option, you can view what keywords your competitors are ranking for. This will give you a significant advantage and help you stay ahead even in a competitive industry.
- Fourth box: The fourth box offers an even closer look at the search you perform. If you used a lot of longer phrases, the fourth box separates each individual word in your entire list. It ranks them by how often customers search these terms. There’s a slider on the right-hand side of your page, so you can access each word individually.
Step 5 – Further Manipulate Your Results
If you aren’t happy with the outcome of your results page, you can make further adjustments to get the outcomes you are looking for.
The Magnet tool features several filters that you can use to manipulate your results.
You can establish your parameters using the Magnet IQ score as a reference. As its name implies, this metric is very intelligent. It signals out products that are searched for frequently but are few and far between.
Since its inception more than 20 years ago, Amazon’s inventory has grown exponentially. This has made it more difficult to be a competitive seller. It’s hard to find a product that’s in high demand but isn’t readily available to consumers.
To maximize your business’s revenue, it’s your job to find a product that consumers want but other sellers aren’t offering.
The Magnet tool can help with this. When you analyze a search term, be sure to look at its Magnet IQ score. The higher the score, the more opportunity you have to succeed with that particular product.
Step 6 – Modify Your Search Volume
Search volume ties into the Magnet IQ score, but it can also be analyzed on its own. You can view the preliminary search volume results in the first box that we discussed earlier.
However, you can also narrow the search volume even more. Under the “Search Volume” filter, you can set specific parameters including the minimum number of searches.
Step 7 – Increase the Word Count in Your Search
When it comes to the word count in your search, the Magnet tool is set to 2 words by default. However, you can increase the minimum word count if you are looking for longer keyword strings, which are otherwise known as long-tail keywords.
Step 8 – Find the Highest Selling Products
You can alter your research to find the highest selling products related to your keywords. Set a limit for the top product associated with your keyword so you can view competitors’ listings and titles.
Step 9 – Place Limits on the Type of Search
The Magnet tool offers two additional filters on the first results page that provide you with further insight. These filters let you:
- Limit the types of matches you get (exact match, organic match, search terms recommended by Amazon)
- Limit your results for Amazon Choice products only
Step 10 – Explore the Advanced Filter
The Magnet tools’ advanced filter lets you add or remove specific words from your search. A lot of sellers particularly like to exclude brand names from their searches to produce more refined results.
Once you’ve chosen the words you want to add or remove, you can select the “Apply” button to produce your refined results.
Step 11 – Screen Your New Results Page
After applying the Advanced filter in step 10, you should screen your new results page. Believe it or not, there is still room to refine your findings. Delete any items that you don’t want to view by selecting the “X” next to them. You can also type out the words you want to be removed instead of selecting them.
Your chosen words will be moved to the “Deleted Word” file. You can always access this file if you change your mind about any selection.
Once you’ve assembled a satisfactory list, you can:
- Export the words into Helium 10’s Frankenstein tool to make additional improvements
- Save the list as an Excel or CSV file to your computer
Step 12 – Address Forgotten Searches
One thing we love most about the Magnet tool is that it lets you store your searches for future use. You can even leave them unfinished and revisit them to continue your work.
How Much Does Helium 10 Magnet Cost?
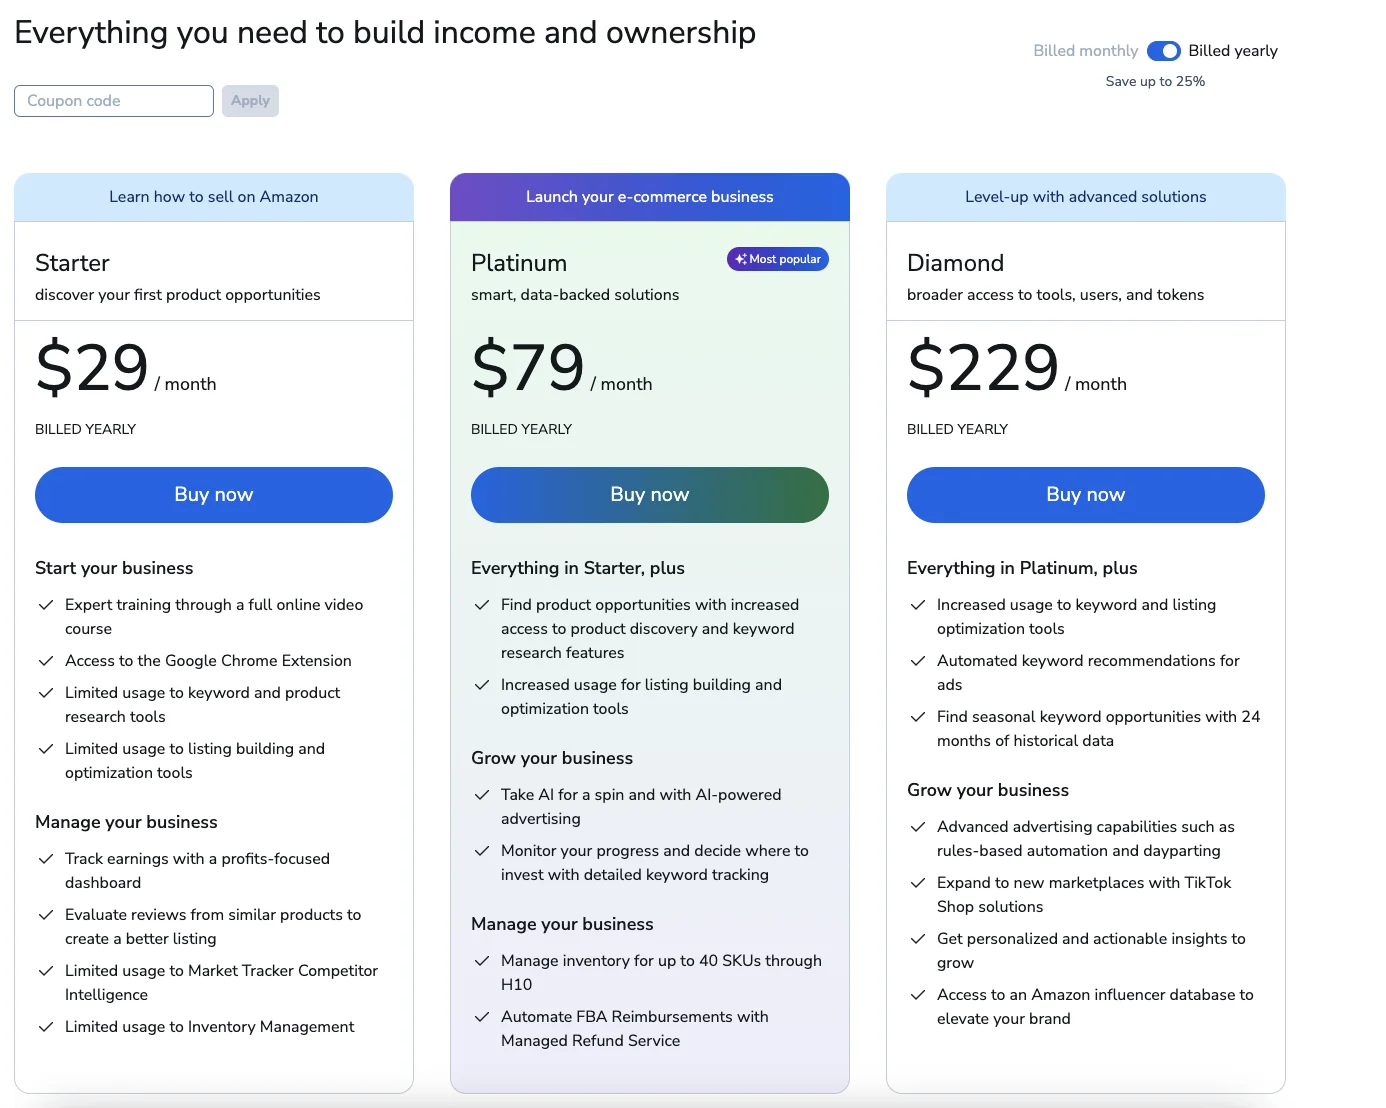
If you want access to Helium 10 Magnet plus the many other tools included in the Helium 10 Software Suite, you can choose from one of these three plans or learn more about Helium 10 Pricing :
- Starter: $29/month
- Diamond: $79/month
- Diamond: $229/month
When it comes to product research tools, this one falls right in the middle in terms of the price range. While it’s not the cheapest, it offers the versatility that your business needs to grow.
Other Helium 10 Tools you may be interested in:
- Helium 10 Chrome Extension X-Ray
- How to use Black Box by Helium 10
- Helium 10 ADS PPC management tool for Amazon Campaigns
- Follow up tool for Amazon by Helium 10
Transform Your Amazon Business with the Magnet Tool!
As an Amazon business owner, you have a lot on your plate. You have an abundance of financial and bookkeeping information to keep track of on top of keeping your customers happy and providing a superior product.
Rid yourself of the burden of keyword research by getting the Helium 10 Magnet tool for your business! New to Amazon FBA, they have a complete course called Freedom ticket to help your every step of the way.It’s easy to use and allows you to adapt your research to meet your shop’s needs. Check it out for yourself today!
